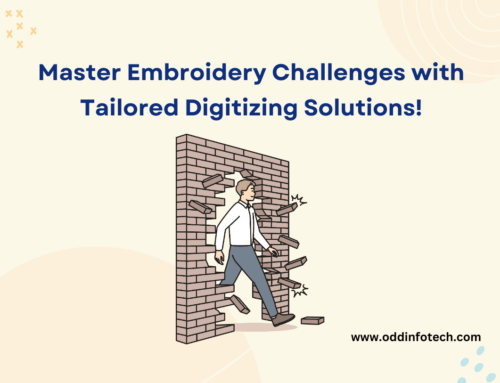
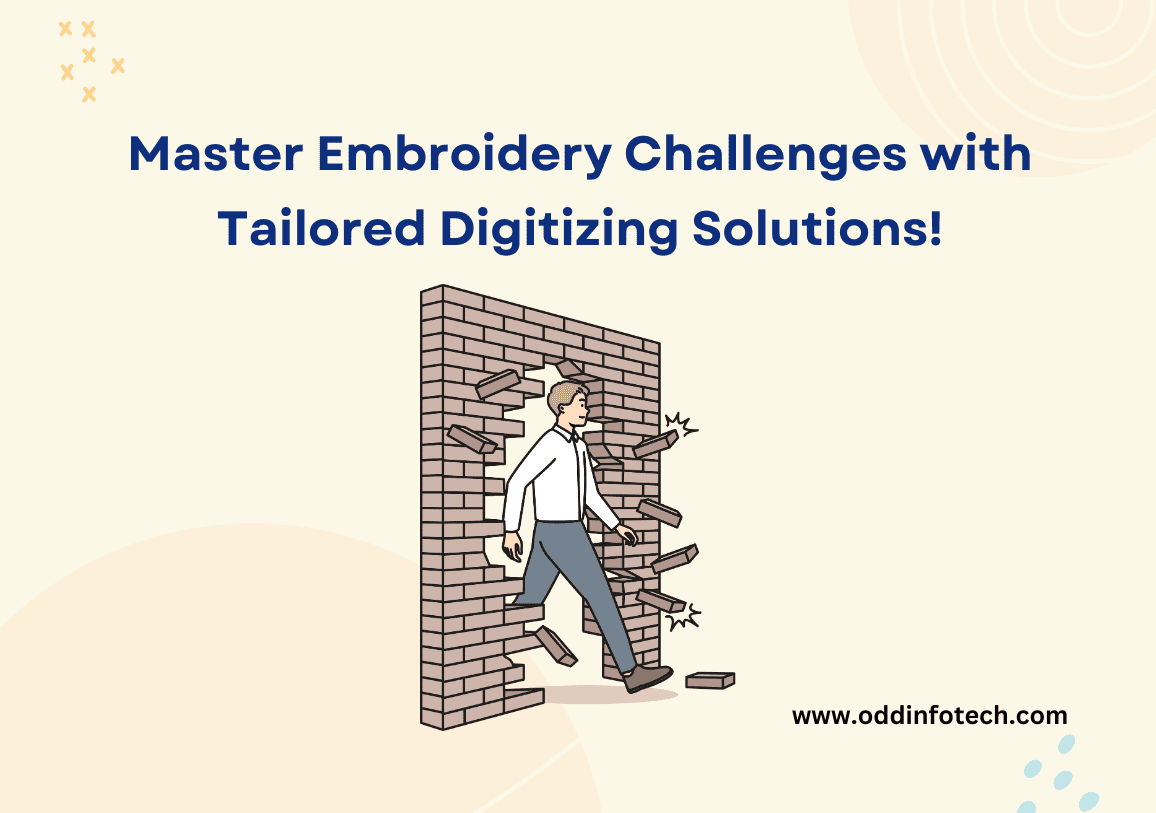
Embroidery digitizing is a craft that brings logos to life with threads and stitches, transforming designs into stunning visual representations. In this comprehensive guide, we’ll explore the intricate process of DIY logo embroidery digitizing, empowering you to unleash your creativity and craft beautiful embroidered masterpieces.
Embracing the Digital Canvas: Introduction to DIY Logo Embroidery Digitizing
Embroidery digitizing is the process of converting a logo or design into a format that can be stitched by an embroidery machine. While it may seem daunting at first, with the right software and techniques, anyone can digitize their logo with ease. In this tutorial, we’ll cover everything you need to know to digitize your logo and bring it to life through embroidery.
Experience the artistry of crafted elegance with our DIY Logo Embroidery Digitizing Designs, where every stitch tells a story of passion and creativity.
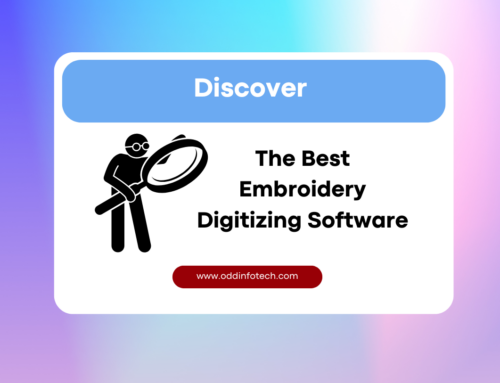
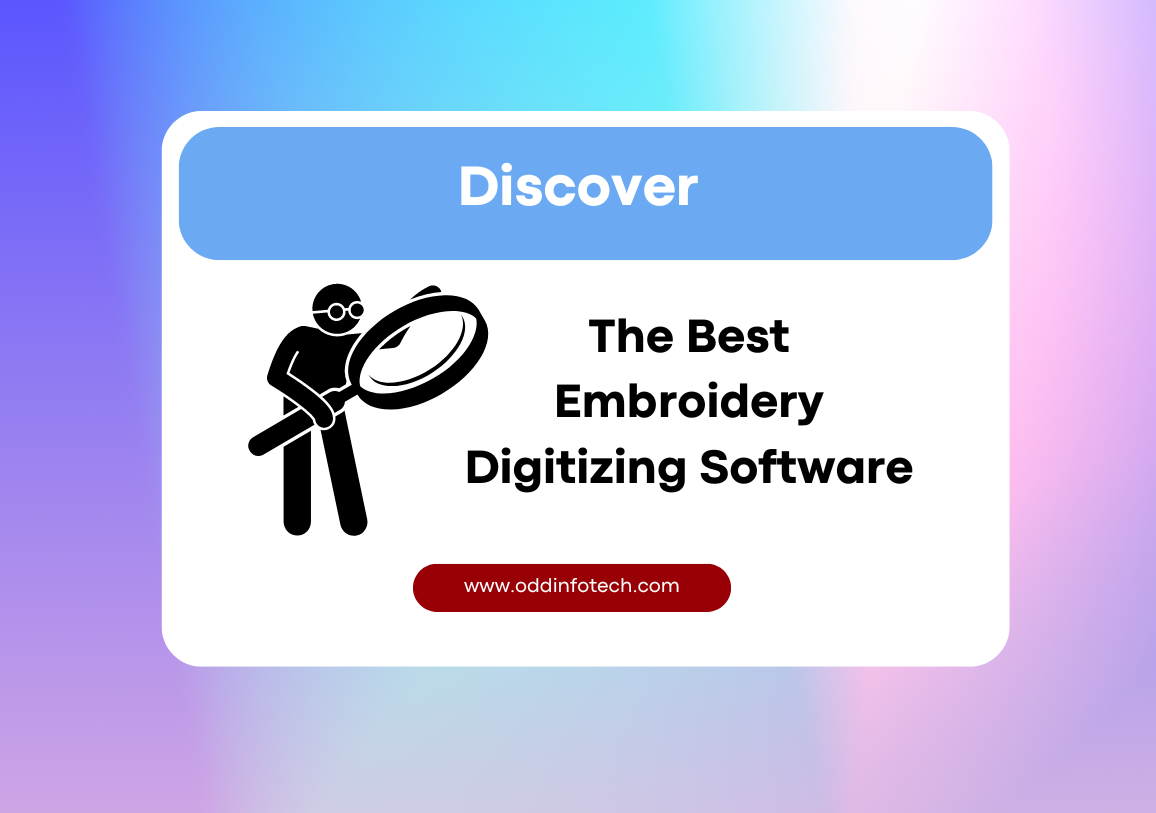
Choosing the Right Software: A Critical First Step
Initially, selecting the right software sets the foundation for your embroidery journey. With options like Wilcom, Hatch, and Pulse, you’re spoilt for choice. Consider your budget, expertise level, and logo complexity. Opt for user-friendly software equipped with essential tools for seamless digitization.
Moreover, ensure compatibility with your embroidery machine, paving the way for a hassle-free process. A harmonious software-machine duo is the key to unlocking your digitizing potential.
Importing and Editing Your DIY Logo Embroidery Digitizing Design: Transforming Vision into Reality
Next, importing your logo into the chosen software marks the beginning of your creative adventure. Supported file formats like JPEG, PNG, and SVG open doors to endless possibilities. Embrace high-resolution versions of your logo for unparalleled results.
Furthermore, editing your design ensures its readiness for digitization. Resize, simplify intricate details, and fine-tune colors with precision. Let the software be your artistic ally, refining your logo to perfection. Utilize the editing tools provided by the software to achieve a balanced and embroidery-friendly design, ensuring that every stitch contributes to the overall aesthetic.
Digitizing Your Logo: Precision in Every Stitch
- Digitizing transforms your logo into a language understood by embroidery machines
- Digitizing your logo marks the heart of the process, where creativity meets precision to translate your design into machine-readable instructions. Begin by outlining the distinct elements of your logo using suitable stitch types, such as satin stitches for solid areas and fill stitches for broader sections.
- Pay close attention to detail, adjusting stitch density and pathing to capture the intricacies of your design accurately. As you progress, define the stitch paths strategically to optimize the embroidery sequence, minimizing thread breaks and maximizing efficiency. Take your time to refine each element, striving for perfection in every stitch.
- Take your time to digitize each element accurately, ensuring a high-quality result.
Setting Up Your Embroidery Machine: Ready, Set, Stitch!
Before stitching your logo, ensure your embroidery machine is properly set up. Follow manufacturer instructions for threading, hoop attachment, and thread/needle selection. Check that all supplies are readily available for smooth operation. Proper setup is key to achieving accurate and beautiful embroidery results. Double-check supplies and ensure your machine is primed for flawless stitching. A well-prepared machine is the key to achieving professional-quality results.
Stitching Your Logo: Bringing Your Design to Life
With everything in place, it’s time to witness your design come to life through stitches. Load the digitized design onto the machine, ensuring proper alignment within the hoop. Conduct a test run to fine-tune settings and verify stitching quality before proceeding with your final piece. As the machine works its magic, monitor the process closely, addressing any issues promptly to ensure flawless execution.
Final Touches
Trim excess threads and admire your beautifully digitized logo!
Conclusion: Your Journey Awaits
Embarking on the path of DIY logo embroidery digitizing is more than a craft; it’s an expression of creativity and passion. With each stitch, you breathe life into your vision, transforming designs into tangible works of art. Let’s embark on this journey together, unlocking the boundless possibilities of DIY logo embroidery.

Leave A Comment